
Links:
First, you need to download the Raspberry Pi Imager and install it on your computer.
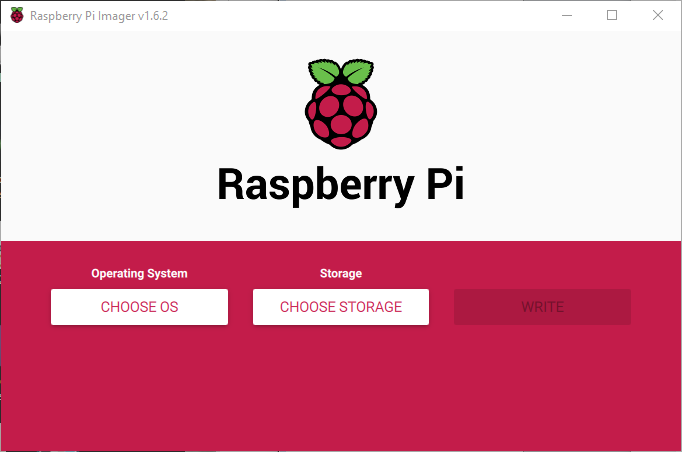
Load the Raspberry Pi Imager and insert your Micro SD Card into your computer.
Install the Raspberry Pi OS
Next, we want to install OctoPi with the Raspberry Pi OS in a single step.
- Click on Choose OS
- Click on “Raspberry Pi OS (other)”
- Click on “Raspberry Pi OS Lite (32-bit)”
- Pick a distribution (I selected the first one on the list, OctoPi). The second one is the same thing, just on a different server.
Hold down Ctrl+Shift and press X. This will bring up the advanced options.
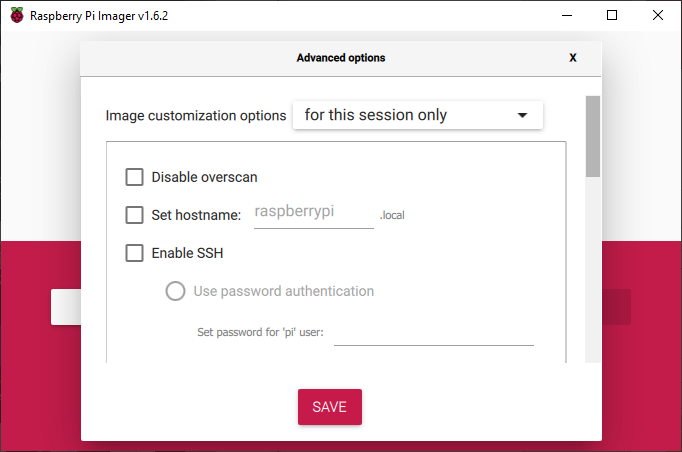
I used this screen to set the following options:
- Set hostname. I entered voronred. Once the Raspberry Pi boots up, I will be able to connect to the Pi by typing http://voronred.local in a browser.
- I enabled SSH and changed the pi password.
- Configure your WiFi.
- Set your locale settings
Then, select your storage and pick the Micro SD card you have inserted into your computer and click on Write. This will create a Micro SD card with your Raspbery Pi image on it.
When it finishes, take it out and stick it in your Pi and turn it on.
Logging into the Raspberry Pi
Once your OctoPi is running, you need to log into it and execute some commands. This can be confusing if you’ve never used linux, but it’s pretty easy.
- First, if you don’t have an SSH client, you need to download one. I use PuTTY.
- When PuTTY loads, use the name you gave the Raspberry Pi as the Host Name (mine is voronred.local), make sure the port is 22 and click “Open”
- Once it comes up, enter pi as the user name and the password you entered in the previous steps. If you didn’t setup the password, type raspberry as the password and press enter.
Update your Raspberry Pi OS
Once are logged in, you need to update the Raspberry Pi OS to make sure everything is current.
Type the following commands into the Pi
- sudo apt update
- sudo apt full-upgrade
Install git
First, we need to install git so we can pull the software from the interwebs.
Type the following commands into your Pi at the command line:
- sudo apt-get install git -y
Install KIAUH
There’s a great piece of software called KIAUH that makes it very easy to install Klipper, KlipperScreen OctoPi, Fluidd, etc.
Type the following commands into your Pi at the command line:
- cd ~
- git clone https://github.com/th33xitus/kiauh.git
- ./kiauh/kiauh.sh
When KIAUH is running, install (in this order):
- Klipper
- Moonraker
- Fluidd, Mainsailand/or KlipperScreenif you would like
- OctoPrint if you like that kind of thing
Building the Firmware
The BTT Octopus board needs special software (firmware) to let it talk to Klipper. In this section, we will make that firmware and install it on the Octopus board. BTT has a tutorial on their GitHub for the Voron.
- Run the following commands on the Raspberry Pi to compile the firmware.
- cd ~/klipper/
- make menuconfig
- Select “Enable extra low-level configuration options” and make sure you select everything below.
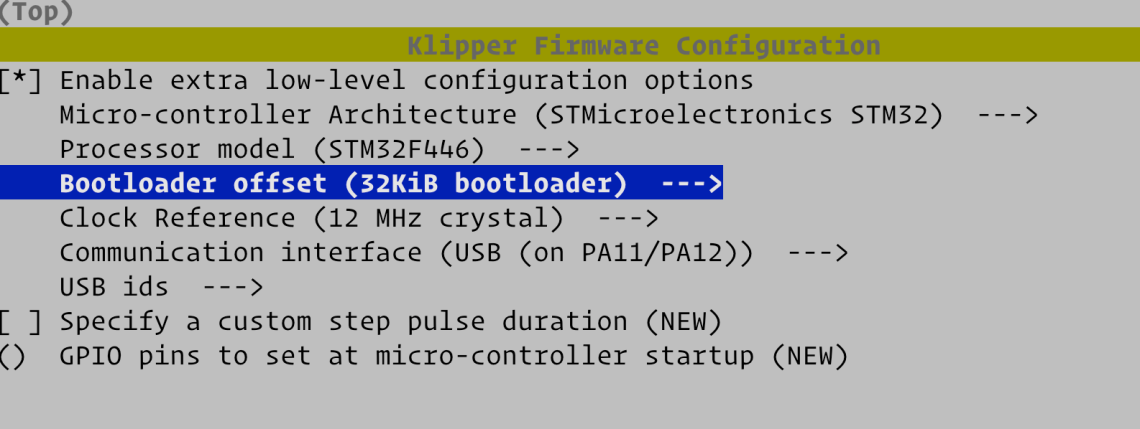
- Save and exit the Kilipper Firmware Configuration program.
- Type “make” (no quotes) and press enter. Wait for the firmware to compile.
- Change to the output folder by typing “cd ~/klipper/out” and press enter.
- Load a command prompt on you Windows machine.
- Copy the .bin file to your windows computer. The command below will ask for your password. This assumes you login to your Raspberry Pi with the user-id pi. Also, replace “voronred.local” with your printer name. Type this command into your Windows command prompt.
- scp pi@voronred.local:~/klipper/out/klipper.bin firmware.bin
- Copy the firmware.bin file to a Micro SD card’s root folder.
- Put the SD card into your Octopus and boot. It should load new firmware into its system and rename the file on the SD card to firmware.cur
Finding your Serial Port
Klipper needs to communicate with your Octopus board and needs to know what port to use to accomplish this. These instructions work for plugging your Octopus board into the Raspberry Pi with a USB cable. I have not tried this using the GPIO pins.
- Log back into your Raspberry Pi via SSH
- Type the following: ls /dev/serial/by-id/*
- This should return something like:
- /dev/serial/by-id/usb-Klipper_stm32f446xx_1E000B001950534841313020-if00
- Copy this whole line to the clipboard, you’ll need it in the next steps
Load Fluidd
Now that everything is installed, load Fluidd and start editing your Klipper configuration file. Here’s a sample to get you started.
Setting your Serial Port
The first thing you want to do is configure your serial port in Klipper. Check out the Klipper documentation and click on “Where’s my serial port?” or follow the steps below:
- Click on the “Configuration” icon on the left hand side of the screen.
- We’re going to edit the file “printer.cfg”. Click on it and pick “Edit” from the popup menu.
- Replace the serial: line under the [mcu] section with the serial port from the previous steps in “Finding your Serial Port”.
- I replace this existing line: “serial: /dev/serial/by-id/<your-mcu-id>”
- with “serial: /dev/serial/by-id/usb-Klipper_stm32f446xx_1E000B001950534841313020-if00”
- On the top of the screen, click on “Save and Restart”
just a note, I have been working on a voron 2.4r2 build with a Pi 4B and the Octopus v1.1 board. For Pi, I have had nothing but trouble getting a serial connection. ls -l /dev/serial/by-id/* only works on enumerated USB ports. serial is a folder but does not exist if you are trying to use a direct serial port on The Pi connector. The only way I have gotten any serial connection to work is through Octoprint because it at least has more serial options. I had the fancy port name from by-id in the printer.cfg. That gave me a connection there, but python in a klipper.log told me it couldn’t find that folder, so USB wouldn’t work. I could find no way to override what klipper was trying to do – that is supposed to what printer.cfg is all about. By the way, my Putty connection is over wired ethernet to my router where I have setup a IP reservation for my printer. I am not a novice at all this, but the Pi and klipper is relatively new for me.